Tools and Materials Needed:
- OBD-II tracker device.
- Vehicle's OBD-II port location (typically located beneath the dashboard, near the steering column).
- OBD-II extension cable (optional, in case the tracker's cable is short).
Installation Steps:
1. Choose a Suitable Tracker:
Select an OBD-II tracker that fits your requirements. There are various trackers available on the market with different features at FLEET we use best in market trackers that are capable of real-time tracking through GPS and LBS hardware.
2. Locate the OBD-II Port:
Find the OBD-II port in your vehicle. It's usually located beneath the dashboard, near the steering column. The port is a 16-pin connector with a trapezoidal shape. Refer to your vehicle's manual if you're having trouble locating it.
3. Prepare the Tracker:
If the tracker's cable is short or doesn't reach the OBD-II port easily, you might need an OBD-II extension cable. Ensure that the tracker's cable can comfortably reach the port without causing strain.
4. Connect the Tracker:
Insert the tracker's OBD-II connector into the vehicle's OBD-II port. Make sure the connector aligns correctly with the port and is securely plugged in. It should slide in smoothly without forcing it.
5. Position the Tracker:
Securely place the tracker in a location where it won't interfere with the driver's legs, and it's less likely to be accidentally kicked or moved. FLEET trackers will snugly sit on the ODB2 port without falling down, but we also provide an extension cable and steel cable tie so that the tracker can be securely fastened up under the dash behind the steering wheel.
6. Power On the Tracker:
Once the tracker is connected, it should power on automatically. You might see indicator lights that show the device's status. Refer to the tracker's manual for specific light indications.
7. Configure the Tracker:
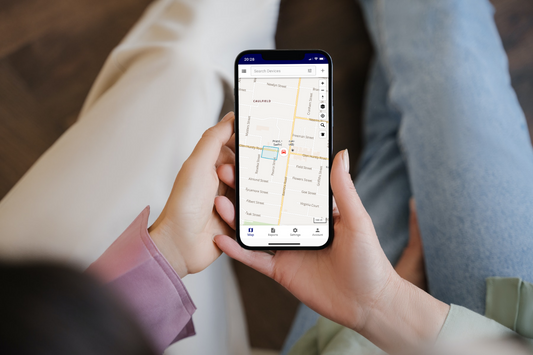
Use the mobile app or software associated with the tracker to set up and configure the device. This typically involves creating an account, adding the tracker to your account, and customising settings like notifications, geofencing, and more. If you're using a FLEET tracker, now's the time to download the FLEET app, sign in with your account, and setup your personalised notifications.
8. Test the Tracker:
Before relying on the tracker for tracking and diagnostics, perform a test to ensure it's working as expected. Check if the device is accurately reporting the vehicle's location and other relevant data.
9. Regular Maintenance:
Periodically check the tracker's connection and make sure it's functioning correctly. Some trackers might require firmware updates or battery replacements over time. FLEET trackers will automatically update themselves when required.
**Important Notes:**
- Always follow the tracker manufacturer's instructions and guidelines during installation.
- Be cautious not to damage any wires or components when installing the tracker.
- Make sure the tracker does not obstruct the driver's view or interfere with driving controls.
- Some vehicles might have a cover or panel over the OBD-II port. You may need to remove this cover to access the port.
Remember that OBD-II trackers can vary in terms of installation and features, so consult the specific device's manual for accurate guidance. If you're unsure about the installation process, consider seeking assistance from a professional or someone experienced in automotive electronics.


